FluentCommunity
REQUIREMENTS
To install the plugin ensure that your website running:
- WordPress 5.9 or newer
- PHP 7.1 or newer
Installation
How to install FluentCommunity
Download FluentCommunity from official website and install following standard WordPress installation process
How to install Better Messages with FluentCommunity
- Install the plugin through the WordPress plugins screen directly or upload the plugin files to the
/wp-content/plugins/bp-better-messagesdirectory. - Activate the plugin through the Plugins screen in WordPress
- Use the Better Messages -> Settings menu to configure the plugin
- Set Show in FluentCommunity Portal in Better Messages location settings.
- If you are using Fluent Messaging - disable it as it makes no sense to use it together with Better Messages
- Go to WP Admin -> Better Messages -> Settings -> Integrations -> FluentCommunity and configure integration
note
The FluentCommunity tab in Better Messages integration settings only appears when the FluentCommunity plugin is installed and active.
Supported features
When you install the FluentCommunity plugin with Better Messages:
- Automatically place messages page button to header menu and mobile bottom menu
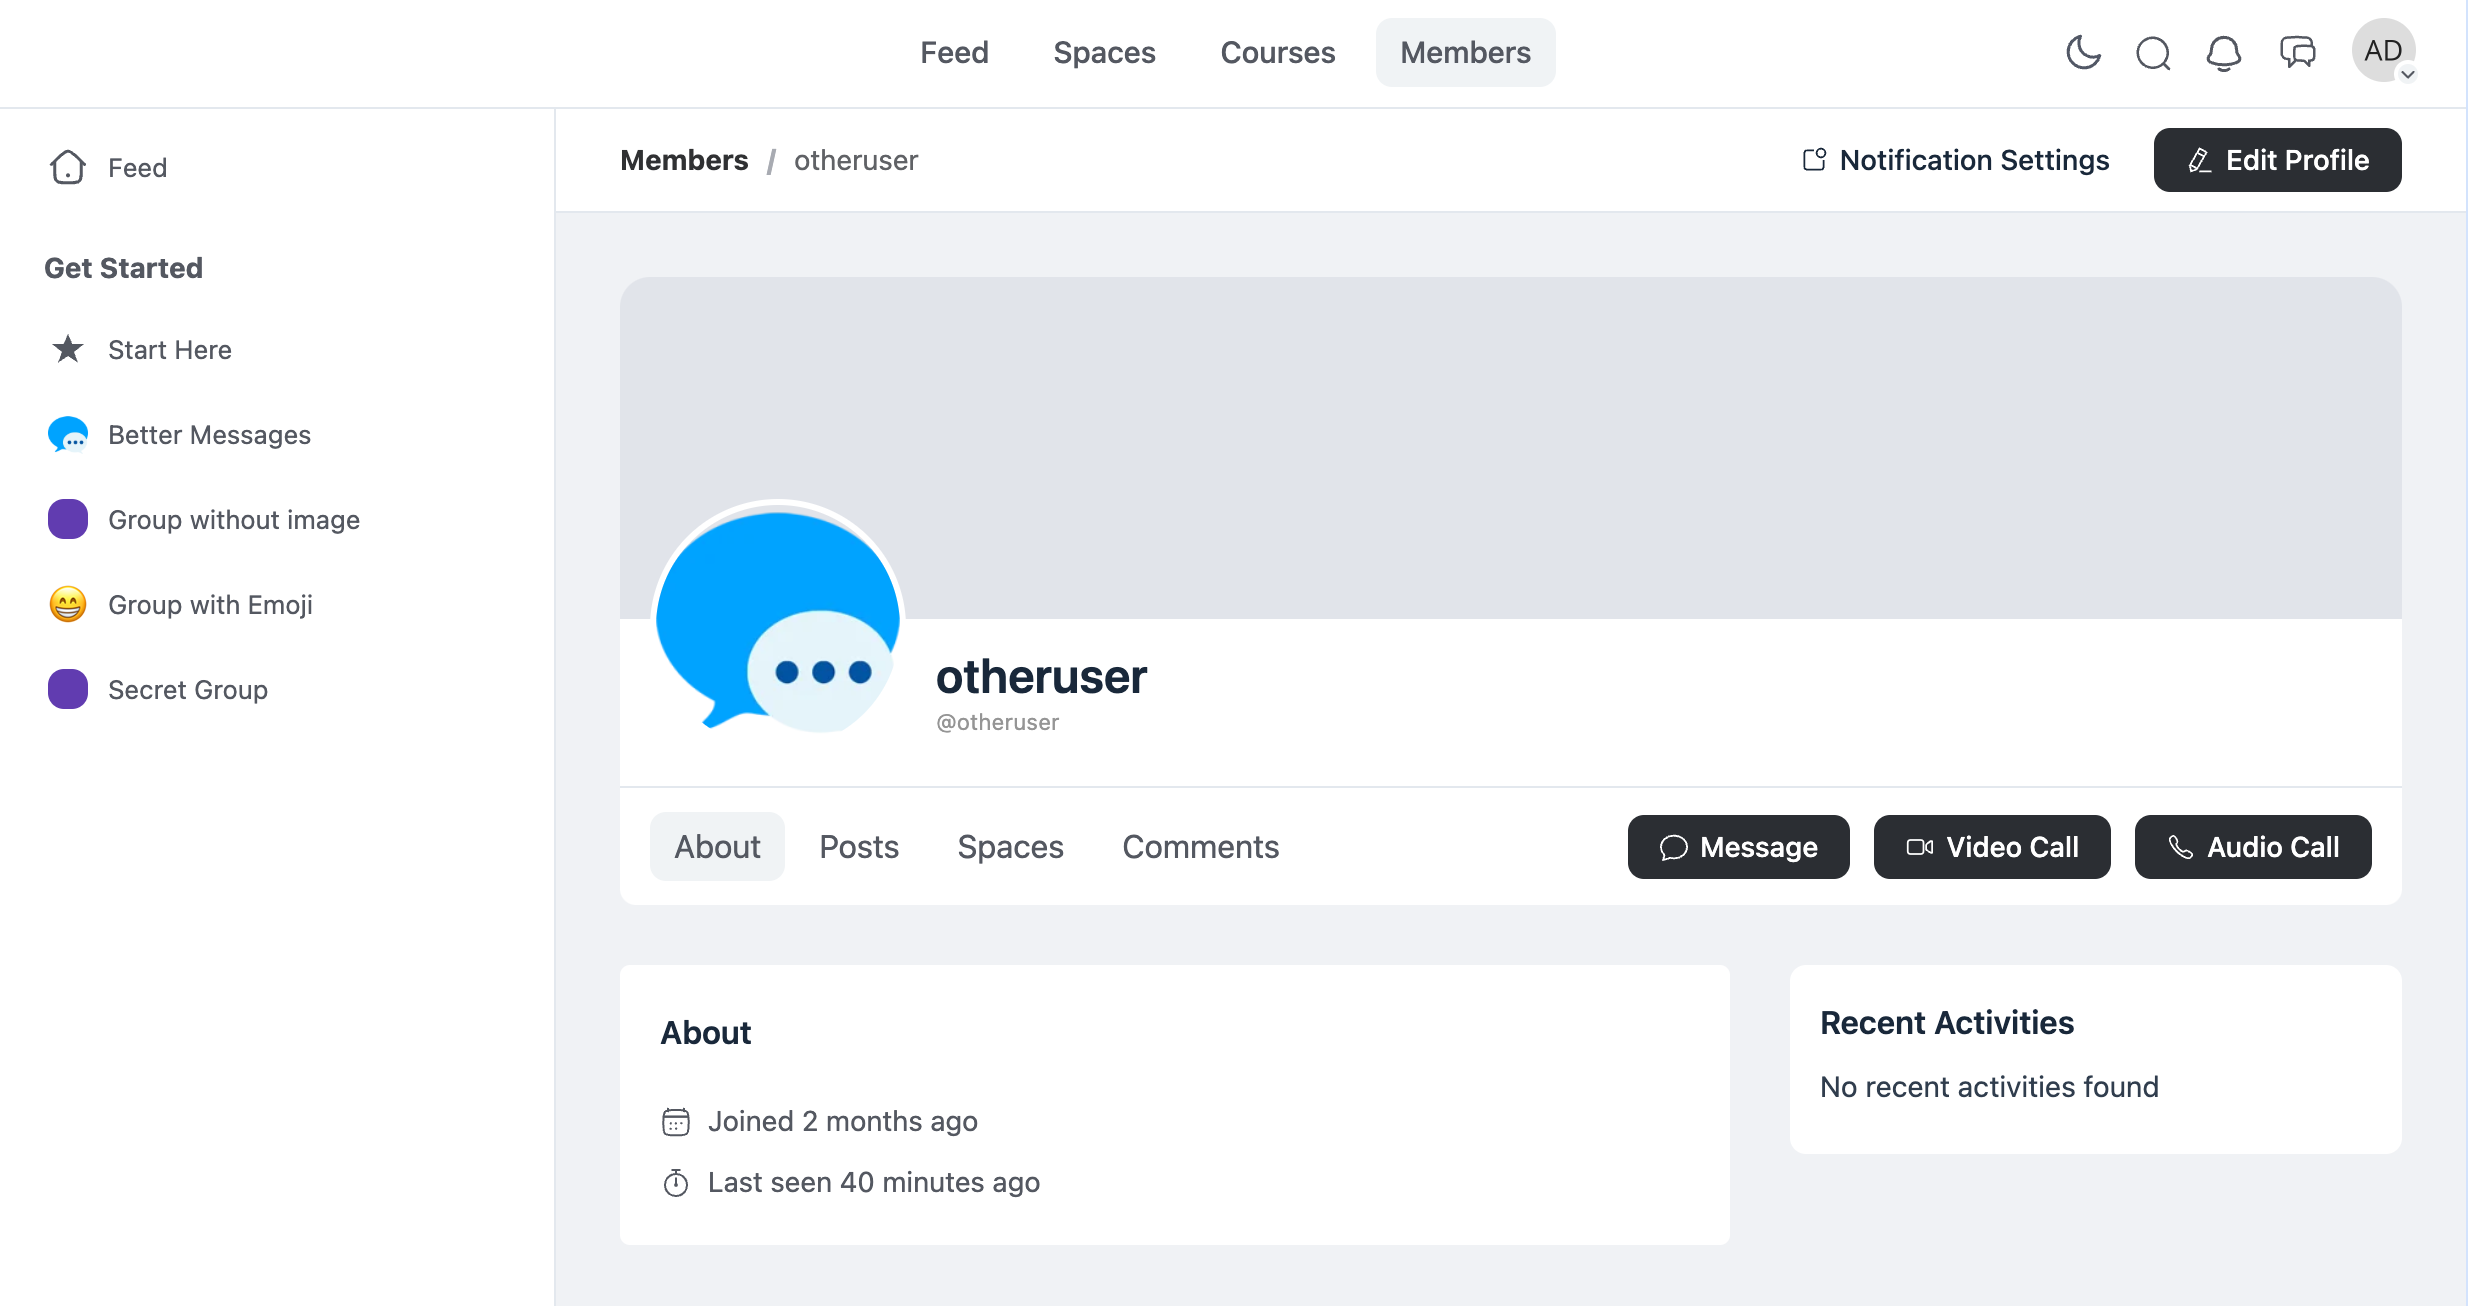
- Automatically adds private message, video and audio call buttons to user profile to user profiles
- All avatars in Better Messages interface are automatically displayed from FluentCommunity user profiles
- All links to user profiles in Better Messages interface automatically point to FluentCommunity user profiles
- Automatic switch between dark and light modes based on FluentCommunity settings
- Allow creating group messages with automatic removal and adding users from chat, when they're leaving or joining the group
Profile page